After the excitement of putting a ring to your relationship, comes the fun part: planning the glamorous wedding you’ve envisioned all your life! As much as there are lots of factors and accessories that must be considered, ensuring all these fall within your budget is what’s important. Learning about how to make a beaded belt for a wedding dress is quite important as it will add a bit of flair and also make your wedding more colorful.
IN THIS ARTICLE
Speaking of lessening the cost, adding a handcrafted item or element to your bridal attire or gown such as a beaded belt will be quite cheap. Interestingly, you can make a bridal sash, fitting for your wedding and it could become an heirloom handed down to future brides in the family.
In this piece, you’ll learn about how to make your customized and crystallized bridal sash that will be quite perfect for your wedding.
Supplies
Before diving in to the tutorial on how to make a beaded belt for a wedding dress, you will need to have the following supplies:
- Satin double-faced ribbon
- Navette Rhinestone with Setting (10mm x 5mm)
- Crystal/Silver (12 pieces)
- Round Sew-on Rhinestone Crystal (12mm)
- Round Loch Rosen (6mm)
- Rhinestone Crystal (3 packs of 36 pieces)
- SS19 Pointed Back RS with setting
- Resin Pearls (3mm and 152 (ivory))
- E6000 Glue
- Ultra-fine felt-tipped pen
- Circle template
- Sewing needle (ensure your beads fit over the needle you choose)
- Colored thread (in oyster)
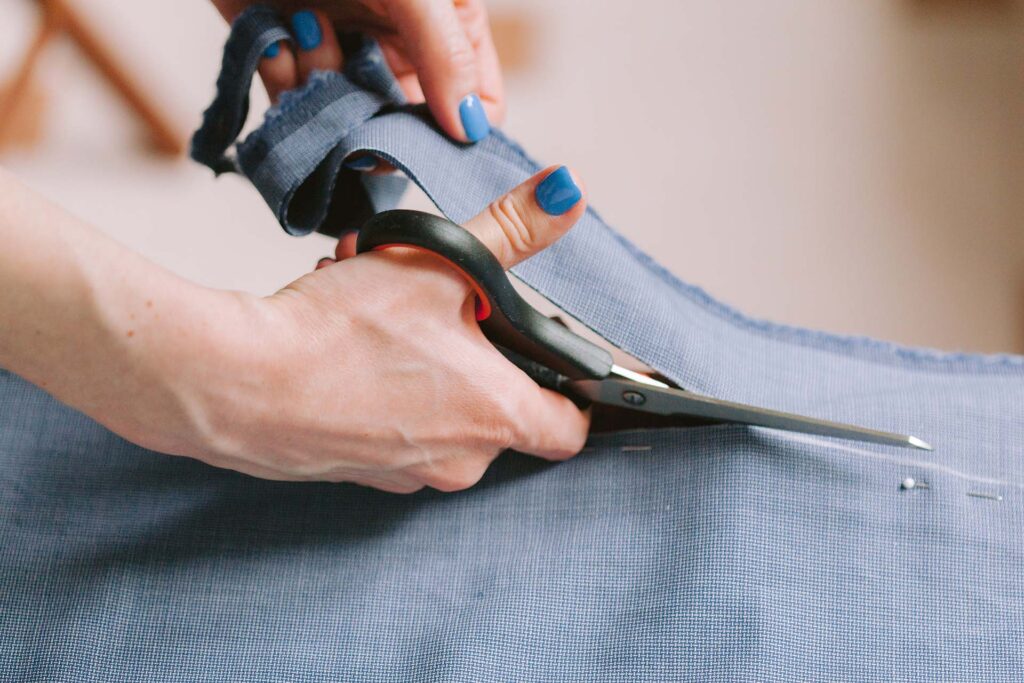
- Scissors

Cut Out Your Circles
Knowing how to make a beaded belt for a wedding dress isn’t hard if you understand the processes. The first step is cutting out your circles. The pattern will be composed of three circles that are linked together. The one at the center will be up to 50.88mm large while the one on each side will be 44.45mm large.
To trace these circles onto your felt, you’ll require a pen as well as your circle template. The first thing to do is to carefully hold down your felt and place your circle template right on top of it. Then, trace the largest circle at the center first. Ensure you use the 50.8mm circle on the template. Appropriate measurement determines how successful it will be.
As soon as you’ve done this, you’ll trace the smaller 44.45mm circle on the right and left side of the center circle. Endeavour to make the smaller circles at both sides to slightly overlap the one at the center.
Cutting Out the Marked Area
After that, you’ll cut out the marked area with your scissors. Be sure to cut closely as you’ll have to trace the penned pattern. This will ensure there’ll be no pen marks left on the white felt. If there’s any light pen marks after you are done cutting, you could easily cover them up with beads and crystals. However, it’s best to avoid leaving marks.
Cutting and Knotting the Thread
After cutting out the marked area, you’ll need to hand-stitch all the crystals and pearls on the felt pattern, going round and round in rows. To begin with the first row, you’ll need to alternate between pearls and crystals to make it quite appealing and colorful.
The needle will need to be threaded before adding the crystals though. To begin, cut a piece of thread of considerable length from the spool. No matter the length of the thread, you’ll eventually run out and be in need for more. Thus, it doesn’t matter how long you cut. This will be explained better in step 5.
Once you’ve cut your thread, pass an end of the thread through the needle’s eye. After, that, fold the thread in equal halves. To knot the thread, wrap the two ends of the thread around your pointer finger. Then, run your finger back and forth to ensure the thread is twisted enough. Roll the loop off your finger, and hold onto the edge of the loop you just made.
Pull it down. This should create a tiny knot. After you have finished knotting your thread, pass the needle through the circle’s bottom and pull the thread through until the knot stops you from pulling any further.
Stitch Crystals and Pearls at the First Row
On the first row of the pattern, the crystals and pearls will be alternated. To stitch, pick up one SS19 pointed back crystal, they are usually small and round and you’ll also notice four holes at the bottom. Fix the needle through two of the holes and string the crystal on the thread. Do this carefully before sliding the crystal all the way down to the felt pattern.
As soon as it has a tight grip, poke the needle downwards, into the felt. This will help to secure the bead with a hand stitch. The stitch has to be tight and very close to the crystal. Also try to keep the crystals and beads tightly placed together so the white felt won’t be seen underneath. It has to be neatly done. The stiches will continue until you run out of thread.
Now, after adding your first crystal, your needle should be at the back of the felt. Poke the needle through the back of the felt and pull tight. This makes the needle at the front of the felt now. So, you’ll add a pearl bead and simply slide it down to the felt. As soon as you’ve done that, poke the needle right next to the pearl, bringing it to the back of the felt. This would secure the pearl and complete your second stitch.
Continue alternating one crystal and one pearl all the way to the edge of your circle pattern.
Thread Finishing
After running round the pattern with the beads and crystals, you’ll knot the end of the thread, and cut it. Ensure the length of your thread doesn’t get too shortened or cutting it won’t be possible. The needle should be positioned behind the felt.
Pass the needle through an already placed stitch. If it’s messy, you need not worry as the felt piece will be glued to the satin ribbon. Thus, no one will be able to see the stitches on the back of the felt after it’s been covered up.
Once you’ve inserted the needle underneath the stitch, pull it enough to create a loop. Then slip the needle through the loop and tightly pull out the thread. Repeat the process one more time and you should have a knot. Now snip the thread with your scissors, ensuring your thread is fairly short.
Then cut a new piece of thread from the spool, knot it and do as you have learnt in the third step. Slip the needle through the felt’s back and continue adding some beads until you’ve gone round the pattern’s edge.
Adding the Second Row ff Pearls
All you’ll use for the second row will be pearls. If you’re yet to finish your thread, keep using it till it finishes. So, begin by adding the pearls and tightly hand stitching them just below the first row of beads. Ensure they are close together as aforementioned.
To complete your second row, continue adding the rest of the pearls round the pattern.
Fixing Crystals at the Third Row
To fix your crystals at the third row, pick up the 6mm round loch rosen crystal. It has a hole in the center and it is round and flat. Start adding the crystals right below the second row of pearls. Sew this bead the same way you have been doing the others, picking the needle through the hole at the center.
As soon as the crystal is lying down on the felt, poke the needle to the right side immediately after the crystal. This will help to secure one side of the crystal. At this point, your needle will be at the back of the felt. Poke it again through to the front and through the center of the crystal again.
Afterwards, poke the needle to into the left side, right next to the crystal. By doing this, both sides would have been secured. Continue with this process until you have added the flat crystals to each of the circles in the pattern. Don’t forget to secure each side of the crystal with a thread. Also cut your thread and start with a new thread. You’ll require it for the next step.
Fixing the Center Crystal
Now the next thing is to add the 12mm crystal. This will be added to the center of the center circle. You’ll need to sew on the crystal in the same way you did the other smaller crystals in the third row. To ensure its centrality, place the crystal in the circle’s middle.
While holding the crystal in its position, slip the needle through the felt’s back and through a hole in the crystal. The crystal has two holes (one on each side) and you’ll need to sew both sides, thus securing the two sides of the crystals.
After putting the needle through one hole, put it through the front side of the felt just before the crystal. The needle will now be positioned at the felt’s back. Poke it through the felt’s back and it will slip through the crystal’s second hole.
Adding the Almond Shaped Crystals to the Center Circle
The next thing to do as regards how to make a beaded belt for a wedding dress is to add the almond shaped 10×15 Navette Crystals. Six of these crystals will be added around the largest crystals that will be in the center circle. You’ll find out that each of the Navette crystals have about four holes in the setting. Thus, you’ll put the needle through each of the holes to properly secure it on both sides.
Keep in mind that the needle should be in the back of the felt. Poke it through to the front, go through two holes of the crystal and then through the front of the felt to the back. Do exactly same to the second set of holes. This will make the crystal secure. Do the same again with the remaining crystals, forming a circle around the large stone at the center. Ensure to leave a room between the center stones and the Navette crystals.
Adding the Almond-Shaped Crystals to the Side Circles
The steps on how to make a beaded belt for a wedding dress tutorial is quite simple if you follow each of these activities closely. The next step after fixing the center crystal will be to add three Navette (almond-shaped) crystals, just as it was done in the ninth step. Ensure to add two crystals with their ends positioned at specific angles. This ensures an even center.
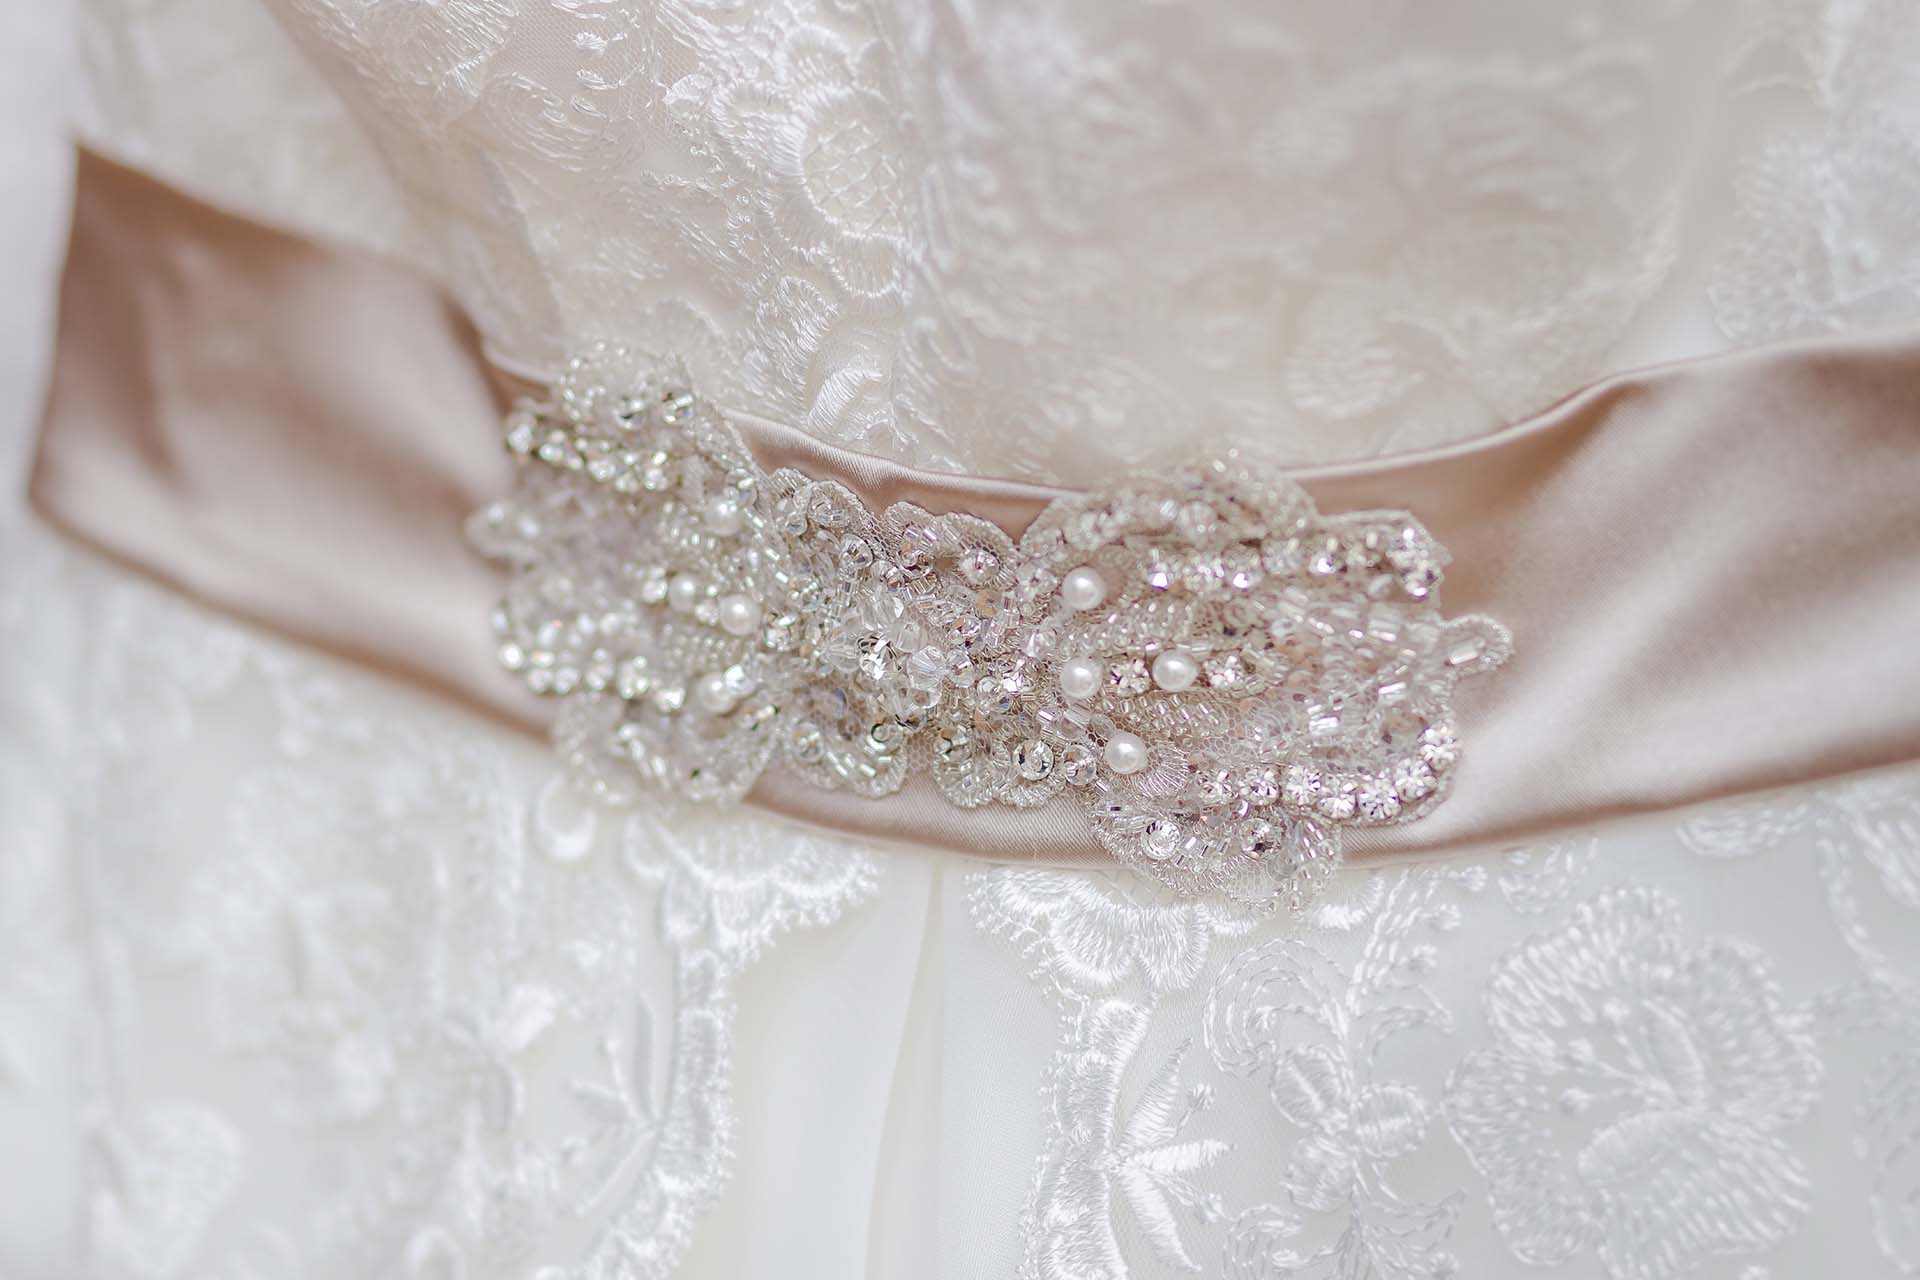
Now add the crystals as you did in the other side. The extra spaces left should be filled with pearls. Pearls should be added around the large crystal in the circle’s center. Now you are done with the pattern! This brilliant piece you’ve made is referred to as a crystal applique.
Attaching Crystal Applique to the Ribbon
This part is quite interesting and essential, especially if you want to successfully learn how to make a beaded belt for a wedding dress yourself.
Here, you take your satin ribbon and neatly fold it in half. It is at the center of the ribbon that the crystal applique will be attached. Set your scissors down to the center so you know exactly where to attach the applique.
Next, apply your E6000 glue at the back of the crystal applique. Ensure to properly ventilate your work area before during this so the fumes of the glue don’t disturb you. Then, flip your applique over and carefully place it on the ribbon. Hold down on the applique for a few minutes to set the glue and you have your crystal applique attached.
Ensure the Ribbon Ends are Angled
Once you are finished and the glue dries, you could shape the edges of the ribbon to have a definite angle, ensuring they look neat. A fabric scissors or any other scissors you have will do just fine in cutting the ribbon to give it good angles. With the ribbon ends angled, you can be certain that now you learned how to make a beaded belt for a wedding dress.

Conclusion
As soon as you’ve followed the above steps on how to make a beaded belt for a wedding dress tutorial, you’ll have created for yourself, an amazing and beautiful bridal sash or beaded belt. To set it, just tie it around your waist with the crystal applique at the front and then tie into a beautiful bow at the back.
Don’t overwork yourself if hand stitching will stress you. You can always purchase a completed crystal applique from the craft store and simply glue it to the ribbon. You can choose any color of ribbon that suits you.